KINDERGARTEN
LESSON 7: LOGGING IN
LESSON MISSION
ACTIVITY 1: WHAT ARE INPUT DEVICES?Look at the slideshow pictures as I show them to you. What do all of these pictures have in common? After you see all the pictures, turn to your neighbor and tell them what you think.
|
TOOL BOXTERMS TO KNOW
cursor: a line or arrow on your computer screen controlled by your mouse or trackpad that shows where you are on the screen
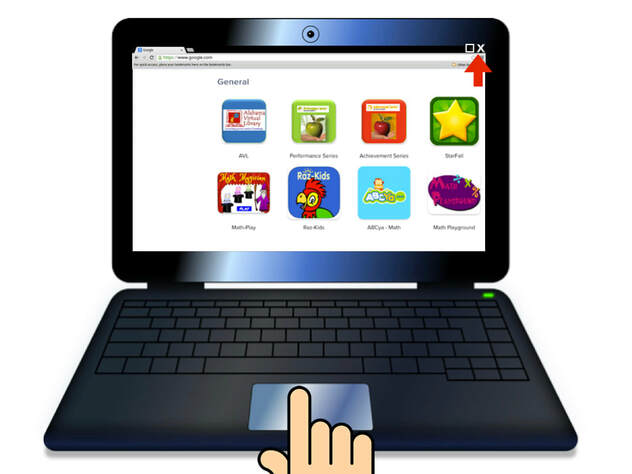
dashboard: a screen that has links you can click on to quickly get to your most used places on the internet input device: a device that sends information to your computer |
ACTIVITY 2:
FINDING MY USERNAME ON THE KEYBOARD
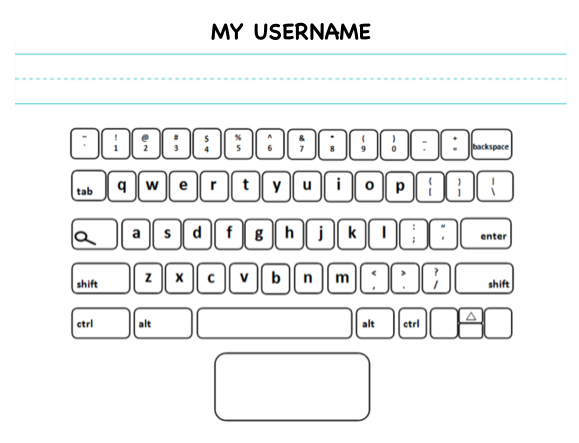
The pictures you saw were all input devices. Input devices are devices that send information to your computer. Today you are going to use input devices to log into the computer, but first, you need to learn where the numbers and letters in your username and password are on the computer keyboard.
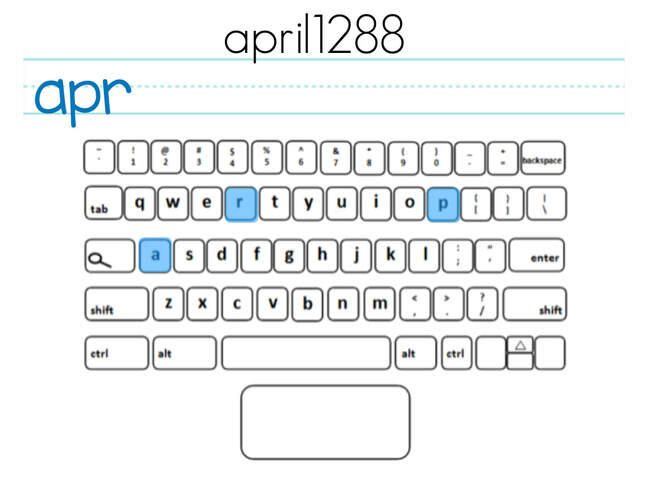
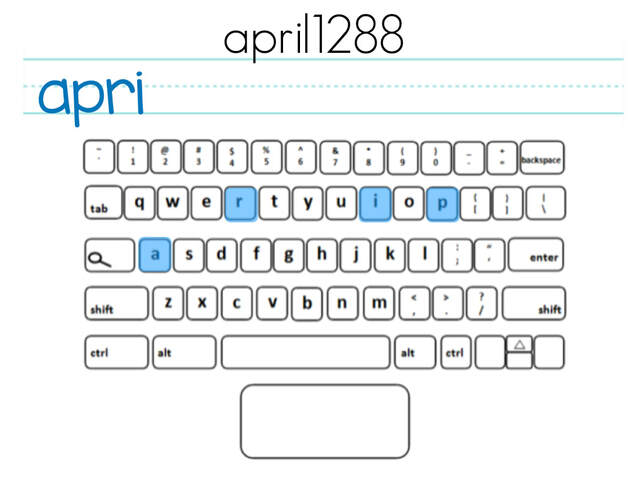
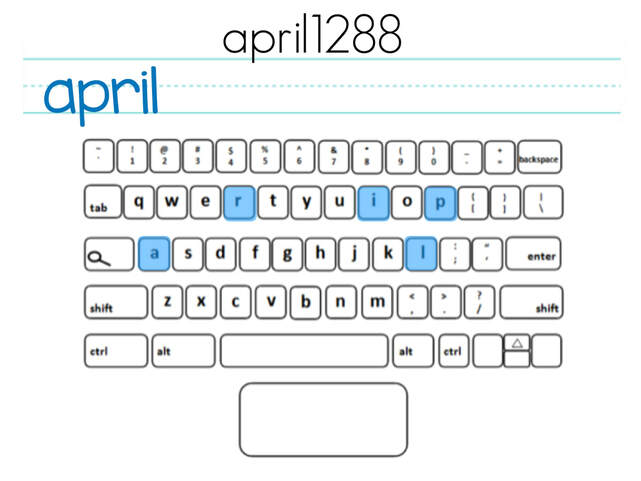
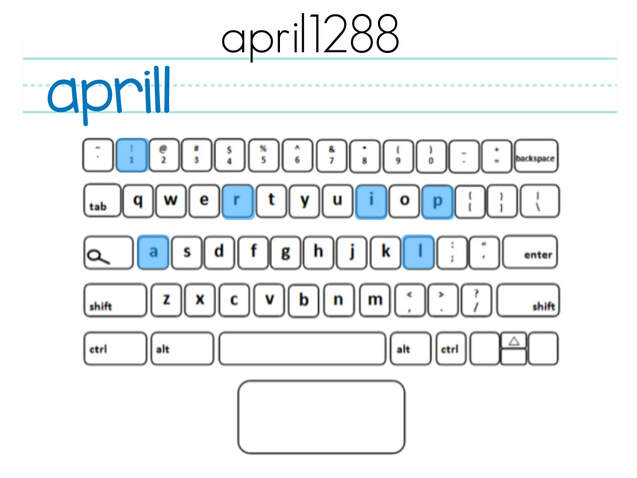
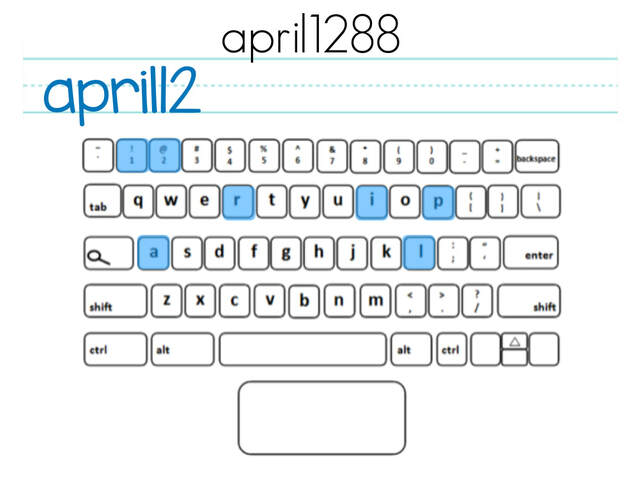
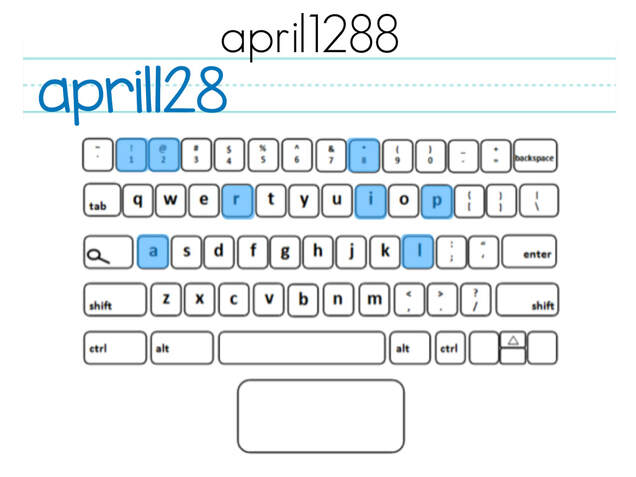
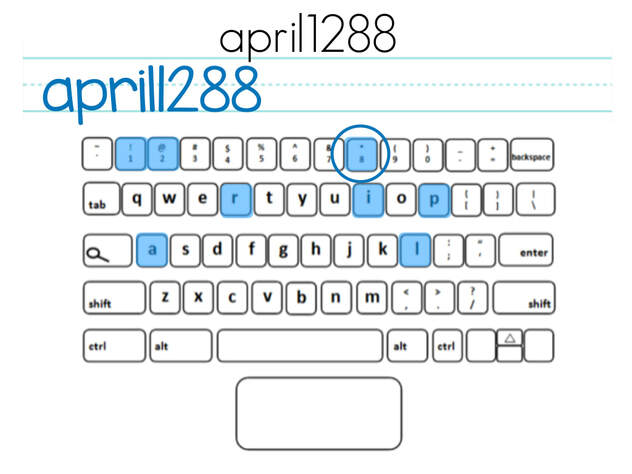
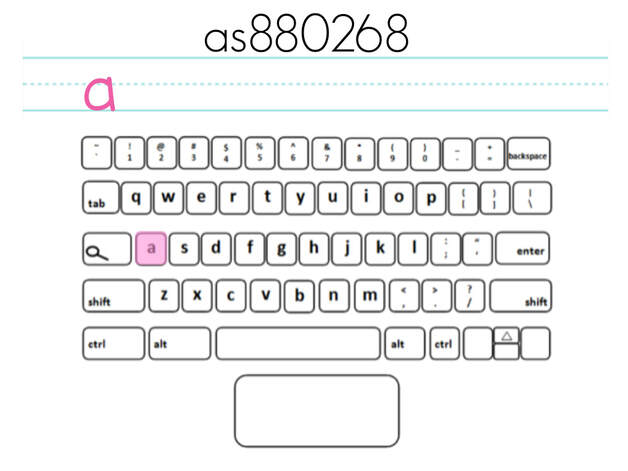
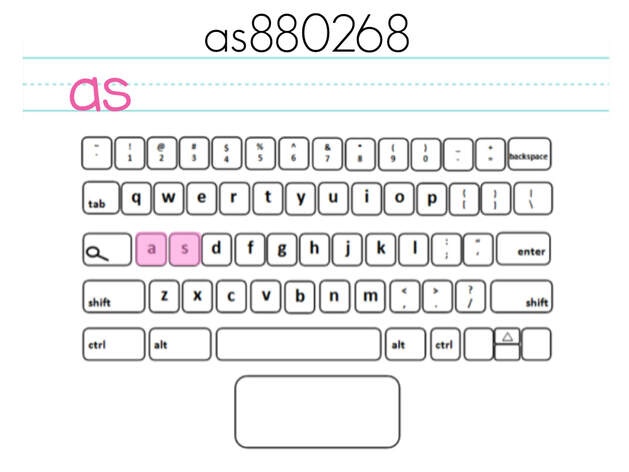
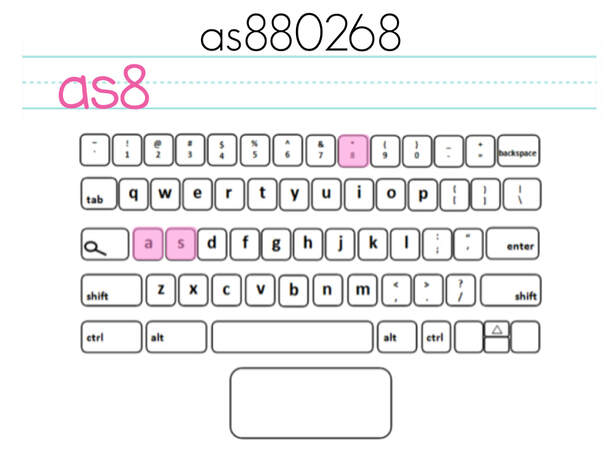
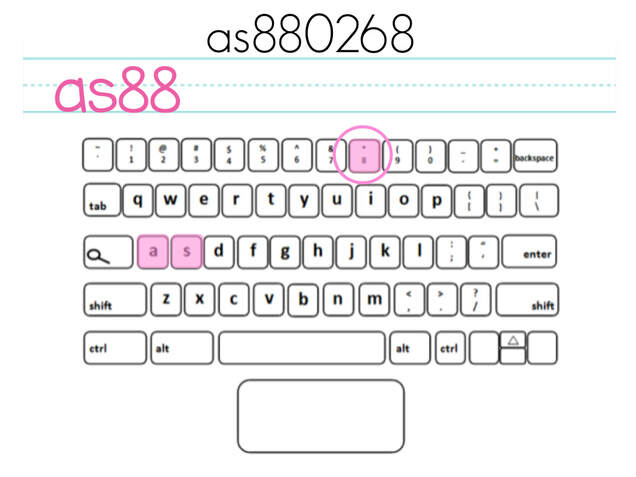
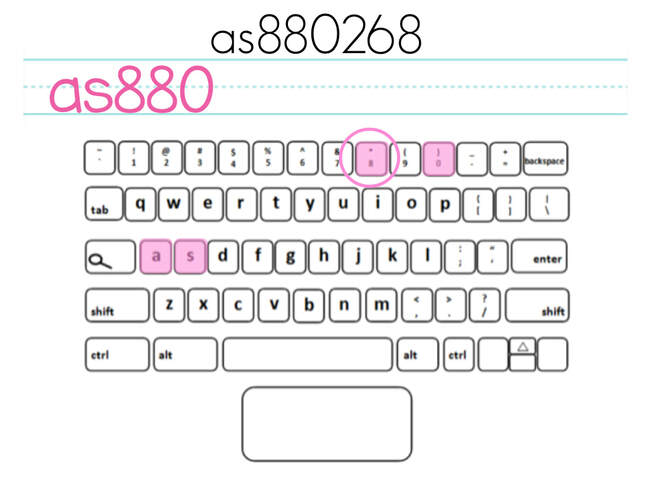
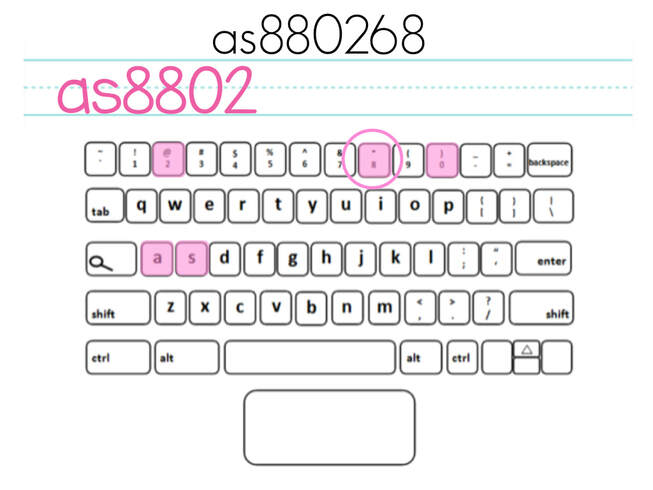
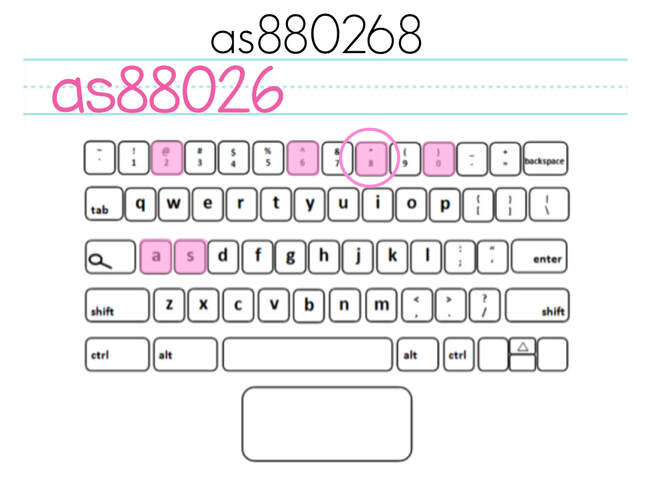
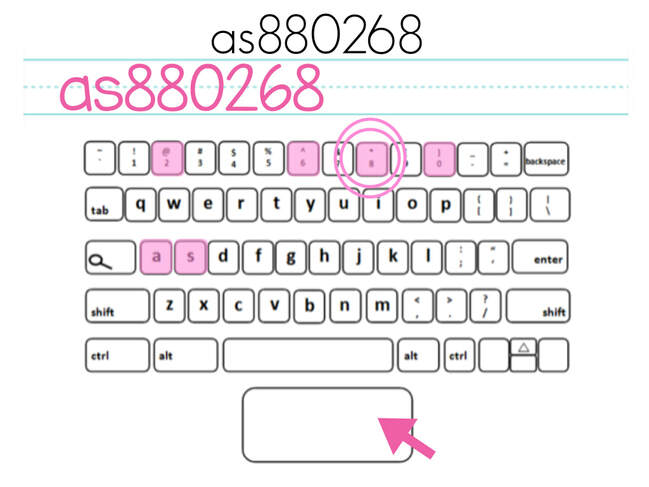
In this activity, you will all get a paper like the one below. Your user name will be at the top of your paper. Follow my directions as I tell them to you for this activity.
STEP 1:
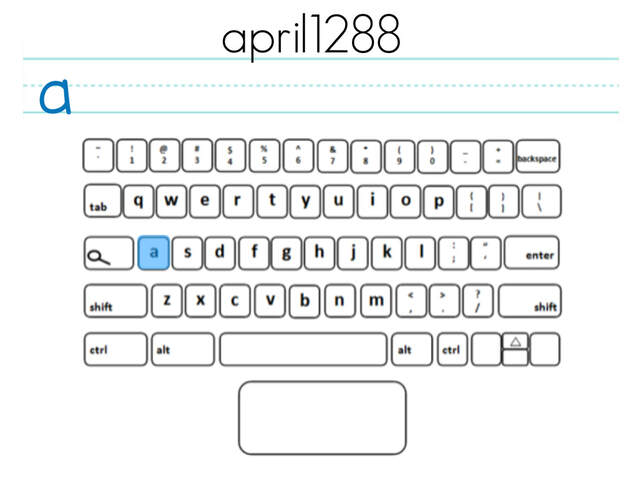
- Write the first letter of your username on the line with the blue maker.
- Color in the key on the keyboard that matches that letter.
STEP 2:
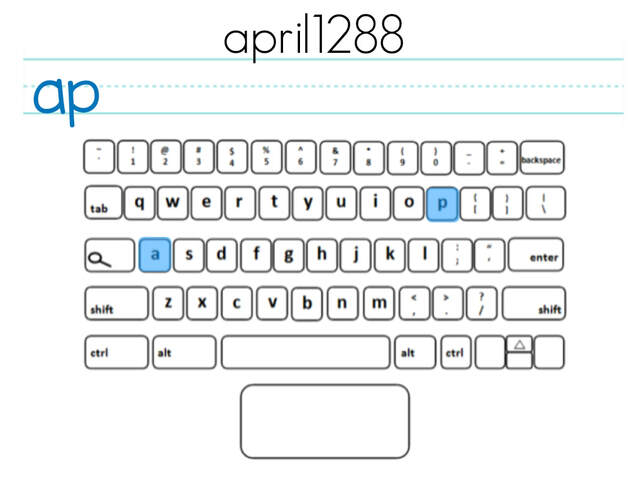
- Write the second letter of your username on the line with the blue maker.
- Color in the key on the keyboard that matches that letter.
STEP 3:
- Write the third letter of your username on the line with the blue maker.
- Color in the key on the keyboard that matches that letter.
STEP 4:
- Write the fourth letter or number of your username on the line with the blue maker.
- Color in the key on the keyboard that matches that letter or number.
STEP 5:
- Write the fifth letter or number of your username on the line with the blue maker.
- Color in the key on the keyboard that matches that letter or number.
STEP 6:
- Write the sixth letter or number of your username on the line with the blue maker.
- Color in the key on the keyboard that matches that letter or number.
STEP 7:
- Write the seventh letter or number of your username on the line with the blue maker.
- Color in the key on the keyboard that matches that letter or number.
- If you have finished all the letters and numbers in your username, sit patiently and wait on the other s in class to finish.
STEP 8:
- Write the eighth letter or number of your username on the line with the blue maker.
- Color in the key on the keyboard that matches that letter or number.
- If you have finished all the letters and numbers in your username, sit patiently and wait on the other s in class to finish.
STEP 9:
- Write the ninth letter or number of your username on the line with the blue maker.
- Color in the key on the keyboard that matches that letter or number.
- If you have finished all the letters and numbers in your username, sit patiently and wait on the other s in class to finish.
- If you have two letters or numbers in your username that are the same, just circle the key since you have already colored it once.
ACTIVITY 3:
FINDING MY PASSWORD ON THE KEYBOARD
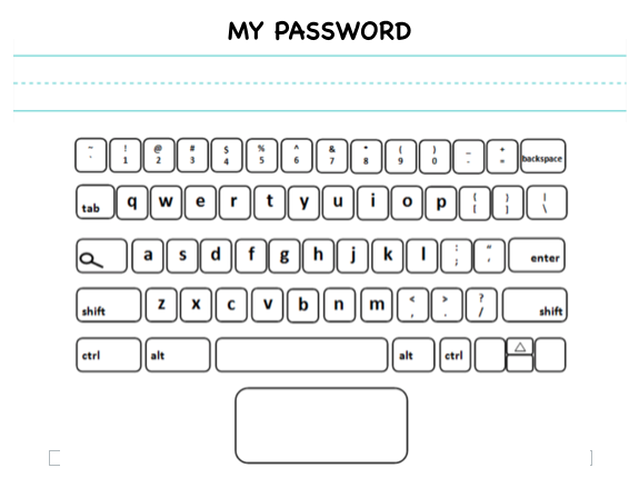
In this activity, you will all get a paper like the one below. Your password will be at the top of your paper. Follow my directions as I tell them to you for this activity.
STEP 1:
- Write the first letter of your password on the line with the pink maker.
- Color in the key on the keyboard that matches that letter or number.
- Remember, if you come to a letter or number that you have already colored, circle it to show you understand that you will be using the same letter or number again.
STEP 2:
- Write the second letter of your password on the line with the pink maker.
- Color in the key on the keyboard that matches that letter or number.
- Remember, if you come to a letter or number that you have already colored, circle it to show you understand that you will be using the same letter or number again.
STEP 3:
- Now you will have numbers in your password.
- All numbers on the keyboard are located on the second row of the keyboard.
- Write the first number of your password on the line with the pink maker.
- Color in the key on the keyboard that matches that letter or number.
- Remember, if you come to a letter or number that you have already colored, circle it to show you understand that you will be using the same letter or number again.
STEP 4:
- Write the second number of your password on the line with the pink maker.
- Color in the key on the keyboard that matches that letter or number.
- Remember, if you come to a letter or number that you have already colored, circle it to show you understand that you will be using the same letter or number again.
STEP 5:
- Write the third number of your password on the line with the pink maker.
- Color in the key on the keyboard that matches that letter or number.
- Remember, if you come to a letter or number that you have already colored, circle it to show you understand that you will be using the same letter or number again.
STEP 6:
- Write the fourth number of your password on the line with the pink maker.
- Color in the key on the keyboard that matches that letter or number.
- Remember, if you come to a letter or number that you have already colored, circle it to show you understand that you will be using the same letter or number again.
STEP 7:
- Write the fifth number of your password on the line with the pink maker.
- Color in the key on the keyboard that matches that letter or number.
- Remember, if you come to a letter or number that you have already colored, circle it to show you understand that you will be using the same letter or number again.
STEP 8:
- Write the sixth number of your password on the line with the pink maker.
- Color in the key on the keyboard that matches that letter or number.
- Remember, if you come to a letter or number that you have already colored, circle it to show you understand that you will be using the same letter or number again.
ACTIVITY 4:
ADDING MYSELF TO THE COMPUTER
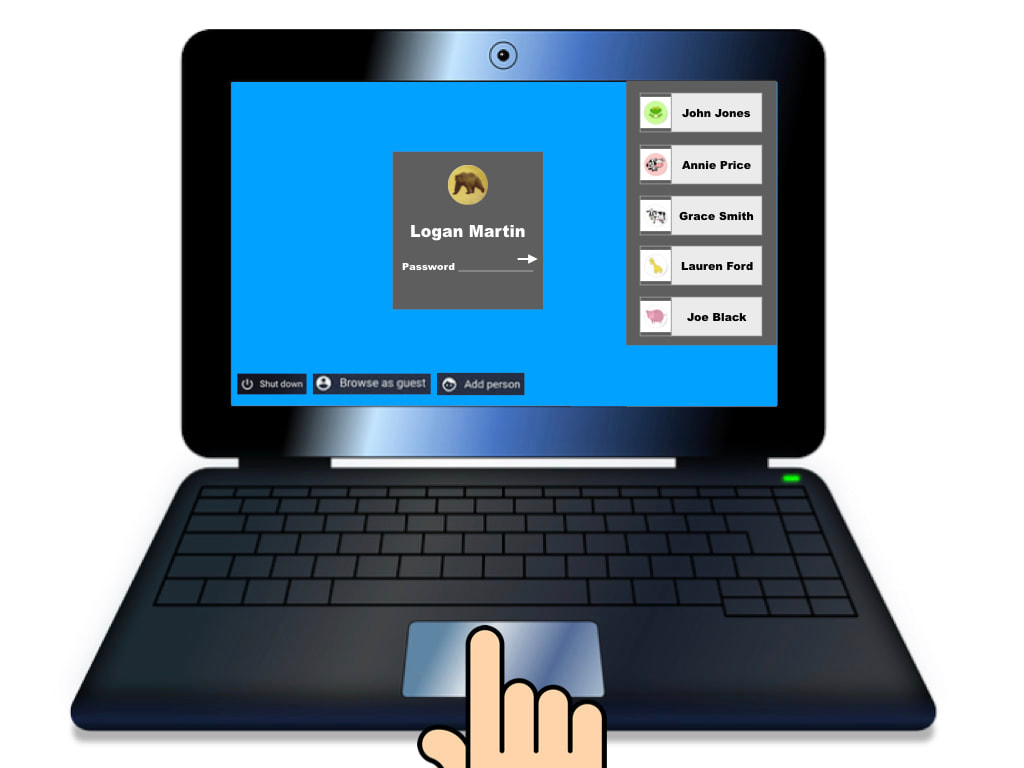
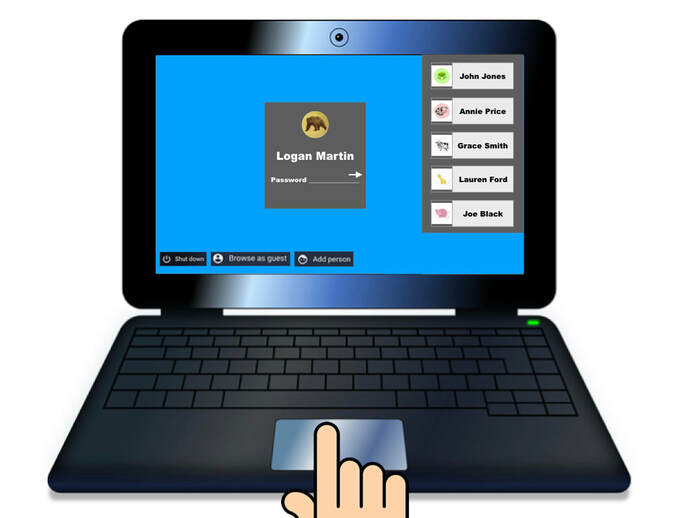
Let's do this thing for real now! Open up your computer. Every time you open a computer, you will have to add yourself as a user on the computer. Sometimes you might see your name on the right, but this will not always be the case. So, it is important to get into the habit of adding yourself.
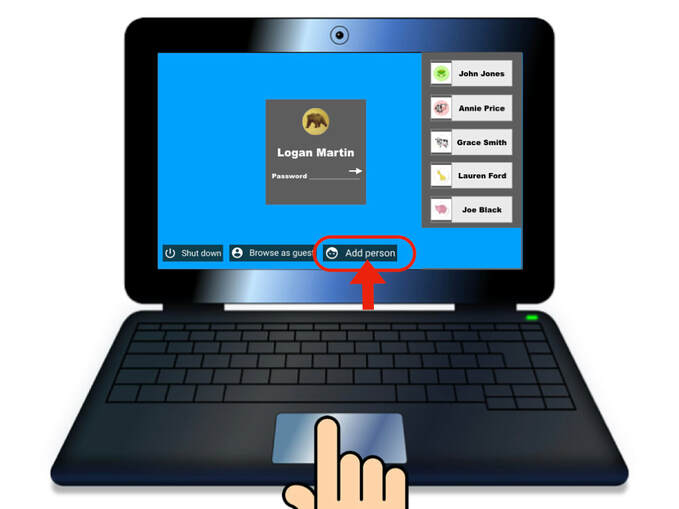
When you open your Chromebook, you will see a little face at the bottom, left part of your screen. You will use your finger on the square pad, called a track pad below the keys to move your arrow, called a cursor. You move your finger across the track pad until the cursor is on top of the little face with the words, Add Person. Then you will press the track pad on the computer. This will bring up a box so that you can enter your secret information.
ACTIVITY 5: PUTTING IN MY USERNAME
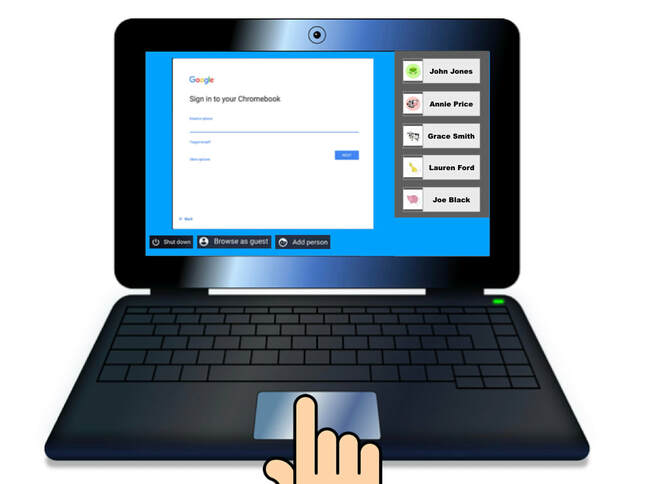
Now you are ready to input your secret information on the computer. Your screen should look like the one in the picture below. Use your finger on the trackpad to move your cursor or arrow to the line. Click on it with your trackpad. You will see a flashing line. Find the letters and numbers that are in your username and type them on the line. Now use your finger on the trackpad to move the cursor to the blue button. Click on the trackpad to tell your computer that you want to go to the next screen.
ACTIVITY 6: PUTTING IN MY PASSWORD
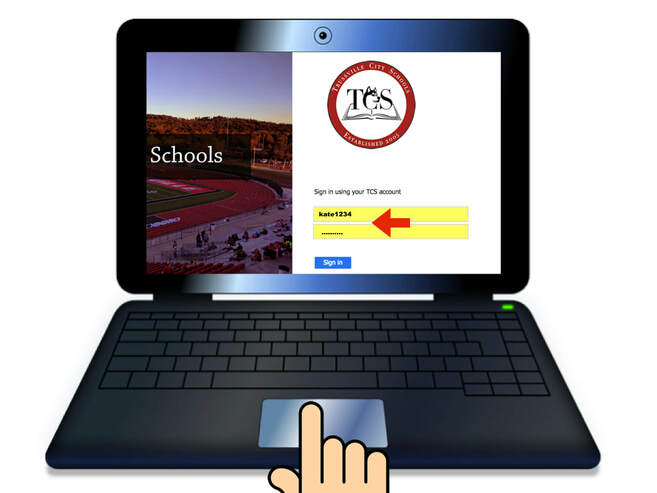
Now you are ready to input your password on the computer. Another box like the one you put your username in will come up on your screen. Use your finger on the trackpad to move your cursor or arrow to the line. Click on it with your trackpad. You will see a flashing line. Find the letters and numbers that are in your password and type them on the line. Again, use your finger on the trackpad to move the cursor to the blue button. Click on the trackpad to tell your computer that you want to go to the next screen.
ACTIVITY 7: GOING TO MY DASHBOARD
Now your computer will take you to your dashboard. A Dashboard is a screen that has links you can click on to quickly get to your most used places on the internet. Your screen will look like this. Here your information is already linked. All you need to do is press on the blue sign in button.
You are now on your Dashboard. Your screen should look like the one below. We are not going to go to any links today. We are just going to practice logging off now. Click on the X on the top right corner of the screen.
Now, click on the red sign out button at the bottom right corner of the screen. You have told the computer to lock the door back on your account so no one using that computer can get into it.
You have officially logged into and out of your computer for the first time today!
MISSION ACCOMPLISHED

CONGRATULATIONS!
You accomplished your mission!
You accomplished your mission!
- I can input my username and password.
