CODING INNOVATIONS
WEEKS 2 - 8: DESIGNING FOR A PURPOSE
YOUR MISSION
UNDERSTANDING THE DESIGN PROCESSBefore you begin learning how to build things using micro-computers, you need to understand why new technologies are developed and how they are developed. All new technologies, inventions, and innovations are designed and created to solve problems or make life easier. Their creation is motivated by a need or want and serves a specific purpose.
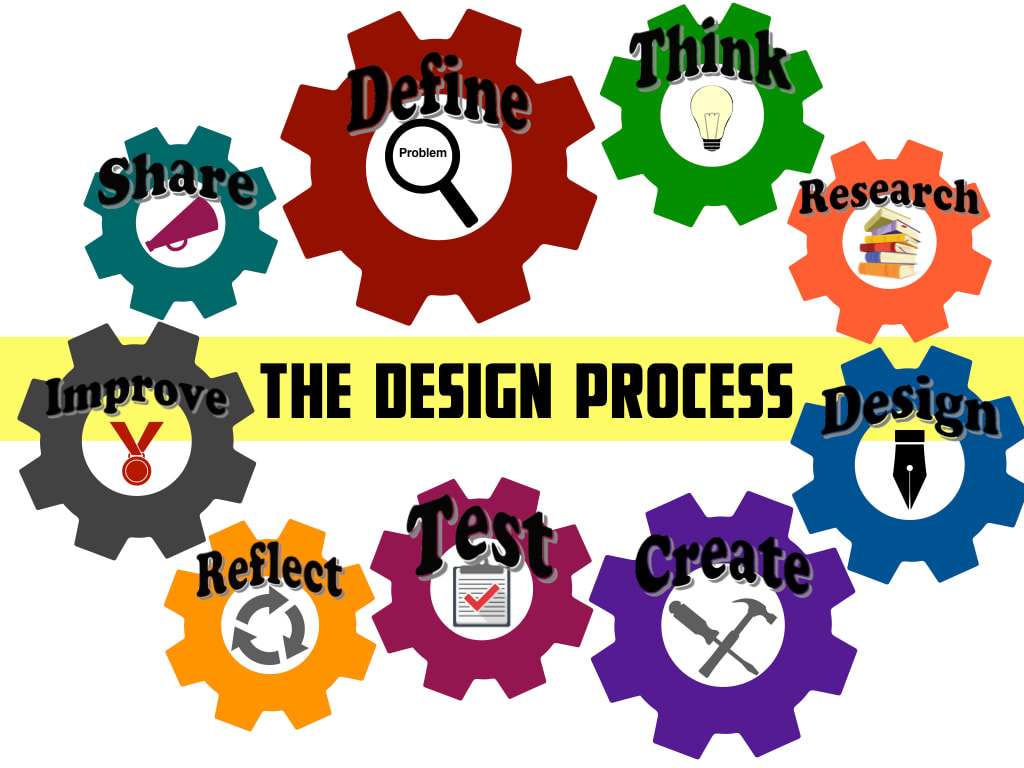
New technologies, inventions, and innovations are created using the design process. There are many different models of design processes. One of the most commonly used is called the engineering design process. The design process is a list of steps used to create something new or to solve a problem. The design process is a model. Many times you will find that steps in this process are repeated or that steps in the process are swapped up. The point is that you are doing these main things:
Define
Think Research Design Create Test Reflect Improve Share |
LESSON TOOLBOXdesign process is a list of steps used to create something new or to solve a problem
invention: an item, idea, or strategy introduced to people for the first time innovation: an improvement upon an item, idea, or strategy that has already been invented technology: tools and machines used to solve real-world problems |
ACTIVITY
Today, you are going to learn about the design process as you apply it to a mini-project. The goal of this mini-project is to design the ideal micro:bit pet for your partner.
First, you will interview your partners about their ideal pet. Choose who will interview and who will be interviewed first, then swap. You should take notes. The first step in coding by design involves understanding someone else’s need. Then, you can create prototypes that get you closer and closer to the best solution.
First, you will interview your partners about their ideal pet. Choose who will interview and who will be interviewed first, then swap. You should take notes. The first step in coding by design involves understanding someone else’s need. Then, you can create prototypes that get you closer and closer to the best solution.
STEP 1: DEFINE
Defining is determining what you are designing for. In this case you are designing the ideal micro:bit pet for you partner. To be able to know what sort of pet would be ideal for your partner, you have to find out what your partner wants in a pet. The best way to gather this information is to interview them.
THE INTERVIEW QUESTIONS
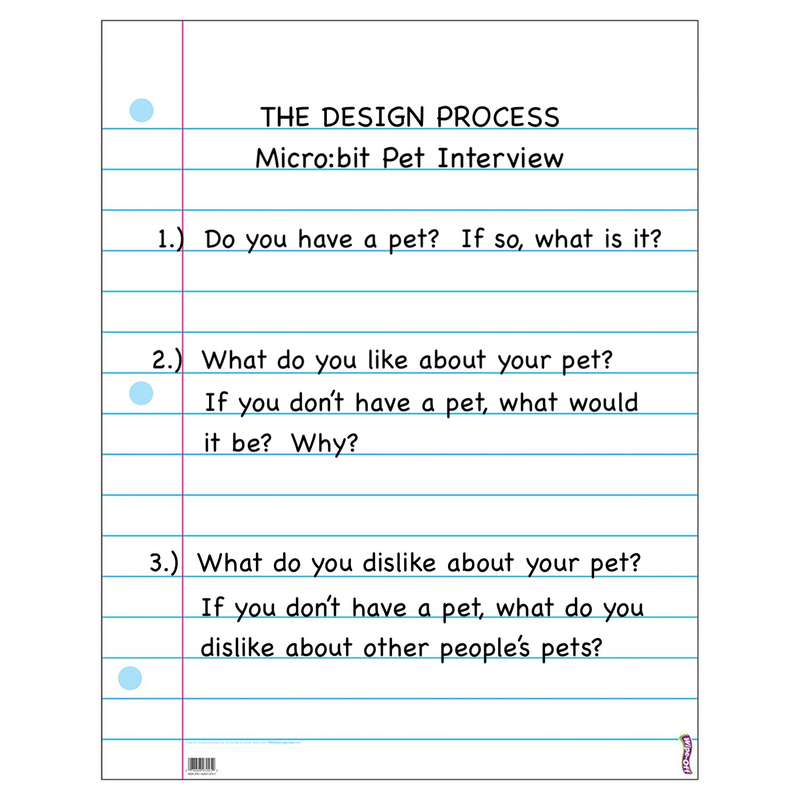
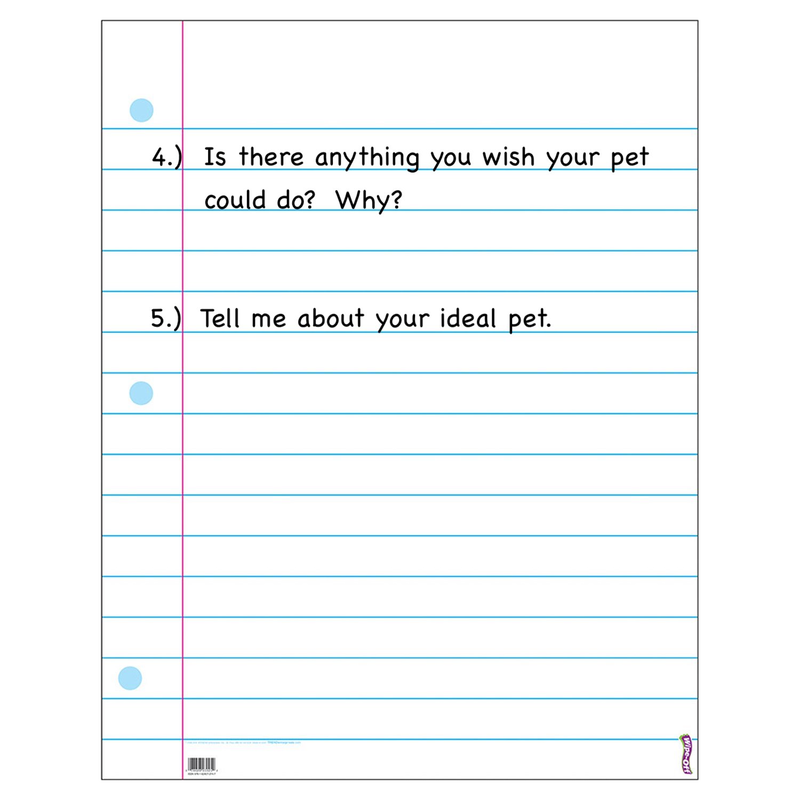
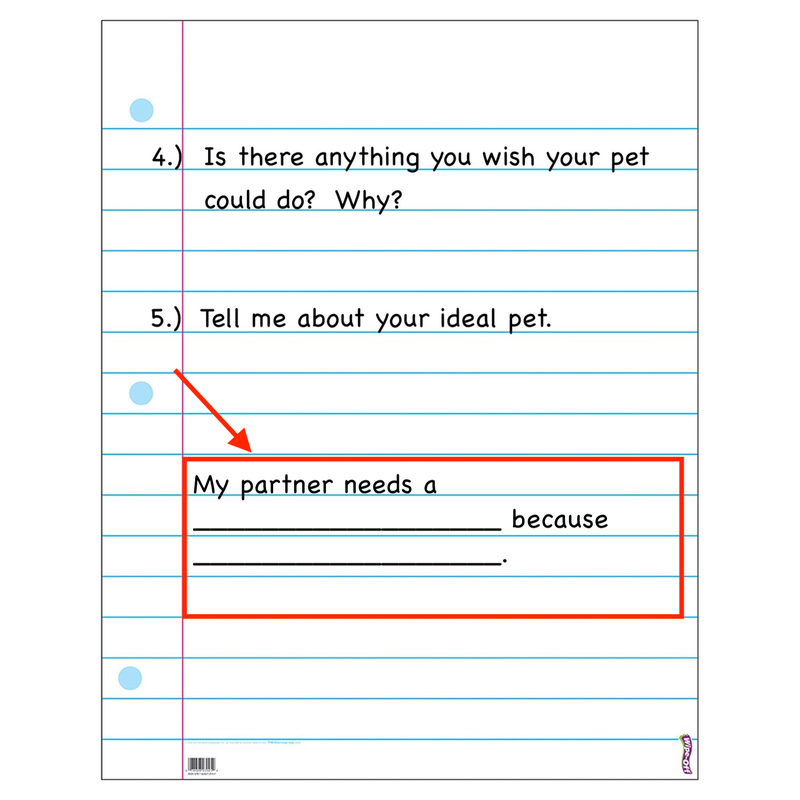
Look at the example interview below. You will now have 5 minutes to write down these interview questions. Make sure you leave space so that you can write the answers down. The timer starts now!
INTERVIEW 1
Now, you will have 5 minutes to conduct your first interview. Decide who will be interviewing and who will be interviewed. Interviewers, listen to your partner and take notes on what they say for each question. Remember, you only have 5 minutes. You should write down keywords to help you remember when you are taking notes. Don't write in full sentences.
INTERVIEW 2
Now, you will have 5 minutes to conduct the second interview. Interviewers, listen to your partner and take notes on what they say for each question. Remember, to only write down keywords to help you remember when you are taking notes. Don't write in full sentences.
You will now have 5 minutes to look over your notes. Circle anything that seems as if it will be important to understanding how to create the ideal pet for your partner. Then, write the statement below in your journal and fill in the blanks.
STEP 2: THINK
In the think stage, you are thinking and brainstorming about the things you learned in the defining stage. In this project, you are trying to design a pet specifically for your partner.
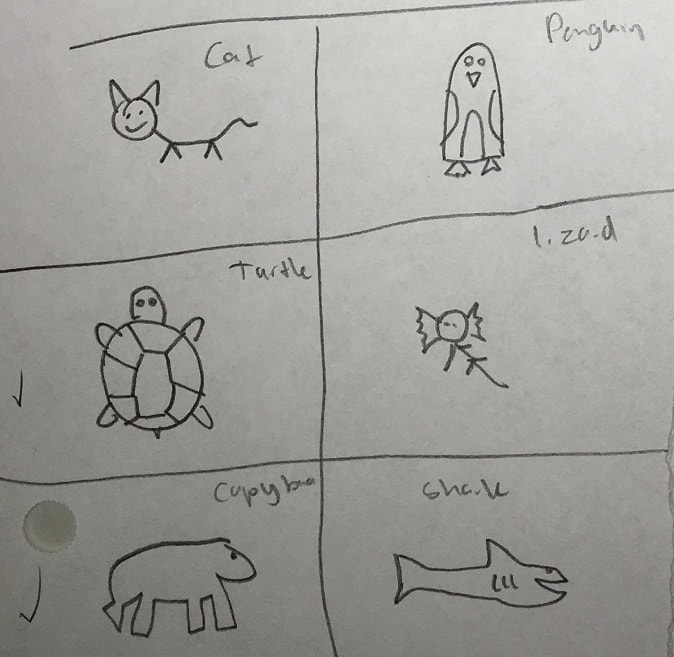
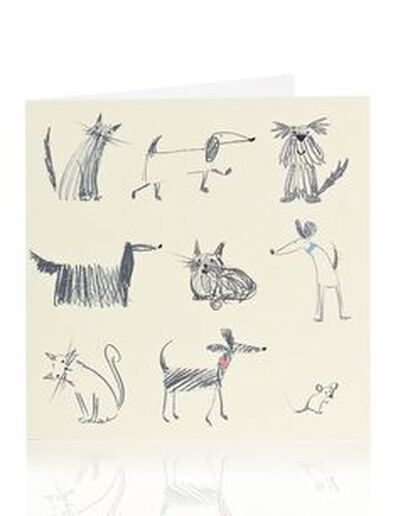
You will have 5 - 10 minutes to think about your partner's interview. Based on what your partner said, sketch at least 5 ideas of pets that would meet your partner’s needs. Stick figures and diagrams are okay. Quantity is more important than quality. Don't limit yourselves to real animals; unicorns and mashups are totally fine! You will keep your designs to use in a project at the end of this lesson! Some examples are below.
You will have 5 - 10 minutes to think about your partner's interview. Based on what your partner said, sketch at least 5 ideas of pets that would meet your partner’s needs. Stick figures and diagrams are okay. Quantity is more important than quality. Don't limit yourselves to real animals; unicorns and mashups are totally fine! You will keep your designs to use in a project at the end of this lesson! Some examples are below.
SKETCH EXAMPLES
STEP 3: RESEARCH
The next step in the process is research. Research is about gathering the information you need to develop your product. It might mean gathering information about the problem or issue behind your design. It could also involve researching ways the problem or issue has already been approached in order to innovate a method that already exists. You might need to learn about how to implement the ideas you have or take inventory of the resources available to you or affordable for you.
For this lesson, the research phase will involve the following:
- learning basic coding skills and downloading a program to a micro:bit
- taking an inventory of the supplies available to you
- looking at how others have designed micro:bit pets
RESEARCHING TASK 1: BASIC CODING SKILLS & DOWNLOADING PROGRAMS

Our first task is to learn how to write a computer program for the micro:bit. To do this, we will begin with a program called, MakeCode. MakeCode is similar to the type of coding you are used to doing in Code.Org. First, you will get an introduction to the program and then we will practice using the program. Click on the icon to the left to go to the MakeCode Tutorial.
Now that you know how to write and download a basic program, let's practice ejecting the Micro:bit and hooking up the battery pack. Open your Files Folder. On the left hand side, you will see the Micro:bit and an eject button to the right of it. Click on the eject button. Do not forget to eject the Micr:bit every time you use it. DO NOT JUST PULL OUT THE USB CORD. YOU COULD DAMAGE THE MICRO;BIT AND LOSE YOUR DATA! When the Micro:bit has disappeared from the folder, you can pull out the USB cord from the computer and the Micro:bit. Put the batteries in the battery cage. Put the white jack at the end of the battery cage cords into the white port on the Micro:bit very gently. You will see that there are small groves that line up. When you download a program to a Micro:bit, you can use a battery pack to run the program free of the computer.
RESEARCHING TASK 2: TAKING INVENTORY
Now that you know how to write a basic program, you need to take inventory of the supplies available to you. Look at the Coding Innovations Catalogue Below. These are the supplies and tools you will have to use. There may be more depending on the donations we receive or things I find in my attic to get rid of. Remember, just because they are available, doesn't mean you need all of these supplies. Our supplies must last all year, so think about only what you need. Also think about you time constraints.
|
|
|
RESEARCHING TASK 3: GETTING IDEAS
The final task in the research stage is to get ideas from what others have done. Look at the pictures below. These are pets that other students have designed. Remember, you are designing a pet specifically for your partner. You will not make one of these pets. You are just using them for examples of how to utilize your materials. Also remember, the pet you make does not have to be a "real animal." You can make up an animal.
STEP 4: DESIGN
You have interviewed your partner to see what kinds of things they like and dislike in a pet. You have learned the basic programming skills you need to program the micro:bit. You know the materials available to you and have looked at how others have designed and built their micro:bit pets. Now, it is time for you to design your partner's Micro:pet.
Using what you know, sketch a design for the Micro:pet. Your illustration should show that you understood what sort of things your partner liked and that you avoided things they disliked. It should show that you only used the materials available to you. It should also supports the micro:bit and its battery pack and allow you to easily access the micro:bit to turn it on and off.
To help yourself get started ask yourself the following questions:
- Will it be an animal? A plant? A robot? A bug?
- Will it have any moving parts?
- If it moves, how can you hold the micro:bit securely?
Now consider, what will you have the Micro:bit do?
- Will the animal make a face?
- Will a part of the animal move?
- Will it sing?
- Will its heart beat?
After you consider these things, sketch out the design and show it to your partner. Ask for their input. Make any changes to your final sketch.
STEP 5: CREATE
Follow the steps below to create your Micro:Pet Prototype.
- Go to the Coding Innovations Store and get the supplies you need for your Micro:pet.
- Construct your prototype. Make sure you have a place for the Micro:bit and battery pack and a plan for keeping it attached. Remember, you make not glue anything to the Micro:bit and you must use electrical tape if you need to attach it.
- Write your program in MakeCode.
- Download your program to the Micro:bit.
- Eject the Micro:bit from your computer and attach the battery pack.
- Add the Micro:bit and battery pack to the prototype.
STEP 6: TEST
Once your prototype is complete, you will need to test it.
STEP 7: REFLECT
Did the prototype do what you wanted it to do? If not, think about what could be causing the problem, modify your prototype, and test it again.
STEP 8: IMPROVE
If it did work, what could you do to make it even better? Try modifying your prototype to add these improvements and retest it.
STEP 9: SHARE
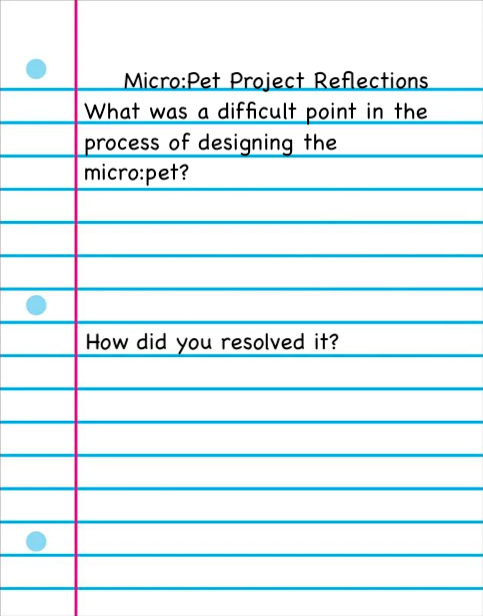
When you have finished your partner's Micro:pet, present it to them. What did they think? Did they like it? If so, what specifically did they like? If not, what specifically did they not like? In your journal, reflect upon the process by answering the following questions:
